
Creating a successful online marketplace used to require a big development budget, coding knowledge, and months of time. But thanks to platforms like Sharetribe, you can launch a professional marketplace in just days — even with no technical background.
Whether you’re building a marketplace for services (like cleaning, tutoring, or wellness), rentals (homes, bikes, equipment), or products (handmade items, vintage goods, or local produce), this guide will walk you through the full journey.
Step 1: Define Your Marketplace Idea
Before signing up for Sharetribe, take time to clearly define your marketplace concept. Ask yourself: What niche are you targeting? This could be anything from cleaning services and local tours to vintage clothing or digital goods. Next, identify your users—are you connecting buyers and sellers, or matching service providers with customers? Think through the core problem your platform solves and how it improves the current experience for users. Finally, define your revenue model. Will you earn through commissions, subscription plans, listing fees, or a combination of these? Having a clear understanding of your business model and user experience from the start will make setting up your marketplace much smoother and more focused.
Step 2: Sign Up on Sharetribe
To begin building your marketplace, head to Sharetribe.com and click the “Start free trial” button to create your account. After signing up, you’ll be prompted to choose between Sharetribe Go, a no-code, hosted solution ideal for rapid MVPs, and Sharetribe Flex, which offers developer-level flexibility via APIs and headless architecture. If you’re not a developer or you need to validate your idea quickly, go with Sharetribe Go. It’s plug-and-play, fast to set up, and includes everything you need to get started without writing a single line of code.
Step 3: Set Up Basic Marketplace Details
Once you’re inside your Sharetribe dashboard, begin setting up the core settings of your marketplace. You’ll select the type of platform you’re building—whether it’s for selling products, renting properties, or offering services. Then, choose a name for your marketplace and decide on a domain (initially you’ll get a subdomain like yourmarketplace.sharetribe.com, which can be customized later). You’ll also set the default language and currency of your marketplace. While most settings can be changed later, it’s a good idea to choose the correct region and currency settings early to avoid potential conflicts with payment systems or content localization.
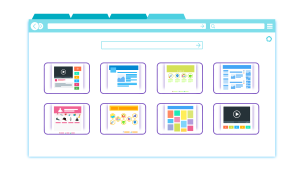
Step 4: Customize the Look and Feel
Now it’s time to align the design of your platform with your brand identity. Upload your logo and a banner image that best represents your niche. Customize the platform’s color scheme and font to match your brand’s tone and personality. You can also write a welcoming homepage message to engage users when they first land on your site. Don’t forget to upload a favicon for added professionalism. Visual consistency builds trust and helps your marketplace stand out from the beginning.

Step 5: Configure Categories and Listing Fields
Next, shape your marketplace structure by creating categories that represent different types of offerings—like “Dog Grooming,” “Photography,” or “Property Rentals.” Under each category, you can define custom listing fields tailored to your niche. These could include price, location, availability, duration, service type, or item condition. Keep your categories broad enough to cover various offerings, but use custom fields to allow users to filter listings more precisely. This significantly enhances usability and makes it easier for customers to find exactly what they’re looking for.
Step 6: Set Up User Roles and Profiles
Define how users will interact with your marketplace. Decide whether users can act as both buyers and sellers or have distinct roles. Enable user profiles with photos and bios to personalize the experience and build trust. You can also configure whether new listings require manual approval or are published automatically. To streamline user registration, consider enabling social logins like Google or Facebook. This lowers the barrier to entry and encourages more people to sign up and participate.
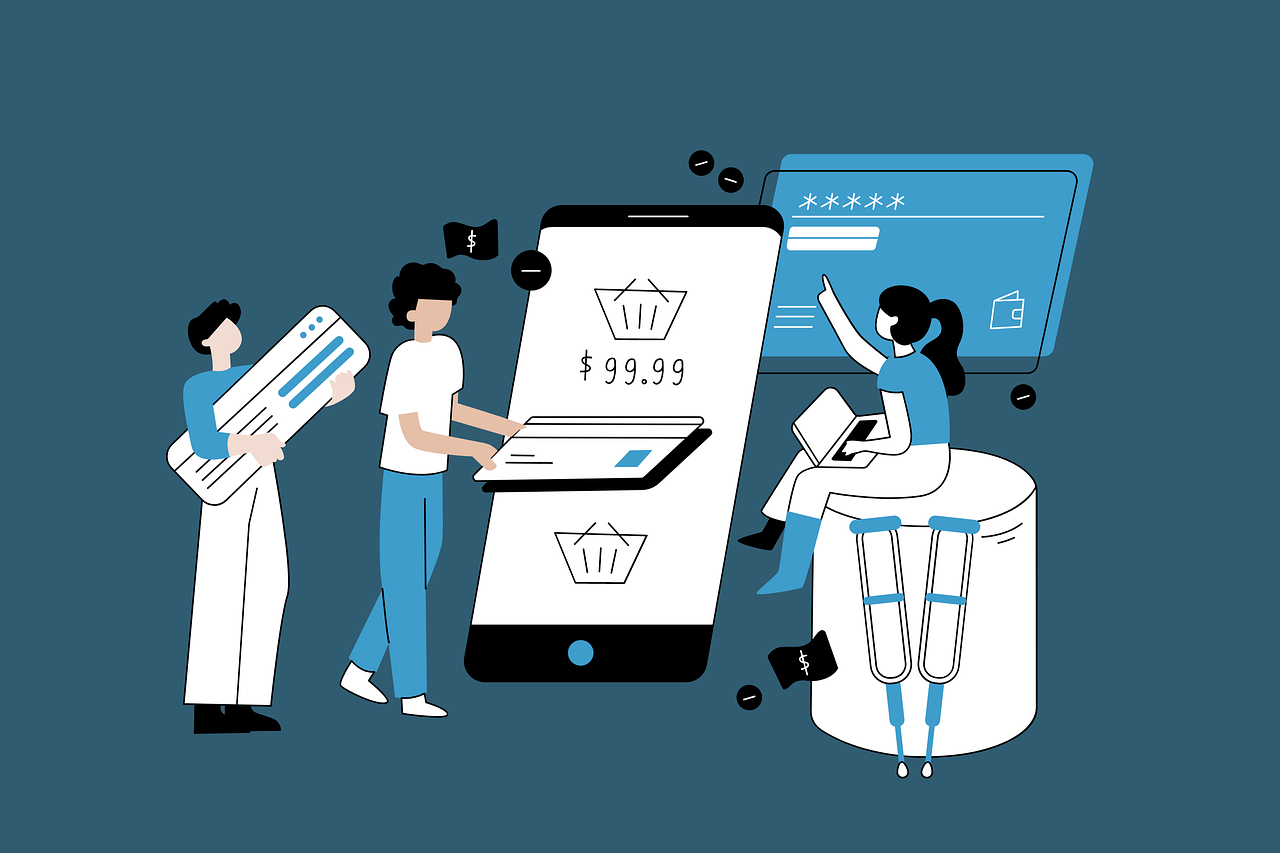
Step 7: Set Up Payment Processing
To process transactions, connect a secure payment gateway through the Sharetribe platform. Sharetribe Go integrates with Stripe, allowing you to accept payments and pay out earnings to sellers or service providers. You can also define platform fees by setting your commission rate per transaction. However, note that Stripe isn’t supported in every country. If you’re in a restricted region, you may need to consider alternatives such as using Sharetribe Flex combined with third-party solutions like Wise, Payoneer, or manual payouts—though these may require custom implementation.

Step 8: Customize Transaction Flows
Sharetribe allows you to choose and tailor different transaction types based on your marketplace model. For example, product marketplaces might use “Buy Now,” while service and rental platforms benefit from “Request to Book” or time-based bookings (hourly or daily). You can customize various aspects of the user journey including confirmation emails, booking request messages, and transactional notifications. This flexibility ensures your platform supports the exact booking logic your business needs.
Step 9: Set Up Legal Pages
To comply with regulations and build credibility, set up essential legal and support content. This includes your Terms of Service, Privacy Policy, Cancellation and Refund Policy, and a Help or FAQ section. Sharetribe Go allows you to easily create and publish these pages using its built-in static page editor. If you don’t have legal templates ready, you can start with publicly available boilerplate templates and consult a legal advisor later for proper compliance.

Step 10: Test Everything
Before making your marketplace public, it’s critical to run full tests on all functionality. Create both buyer and seller accounts to simulate real user experiences. Post test listings, go through the booking or purchase process, send messages, and verify notifications. Test the payment and payout flows if possible, and review how your email templates appear. Invite a few early users to give feedback and catch issues you may have missed. A good practice is to use “Incognito Mode” or a private browser window to simulate first-time user behavior.
Step 11: Launch and Promote Your Marketplace
Once testing is complete and you’re confident in the platform’s functionality, it’s time to go live. Connect your custom domain name, enable Google Analytics, and optimize your platform for search engines by adding relevant titles, meta descriptions, and alt text. Now start marketing your platform—share it on social media, send out email announcements, collaborate with influencers or industry partners, and consider running paid ads on platforms like Google, Facebook, or Instagram. You might also want to offer early-bird incentives to attract your first group of users.
Conclusion
Building your own online marketplace may seem complex at first, but platforms like Sharetribe make it remarkably accessible—even if you don’t have any technical background. By following the step-by-step process outlined above, you can go from a simple idea to a fully functional, branded marketplace in a matter of days. From defining your niche and setting up categories to enabling payments and customizing user experiences, Sharetribe Go gives you all the tools to validate your concept and start generating value for your users.
Remember, the most successful marketplaces don’t wait for perfection—they launch, learn, and improve continually. Start small, stay focused on your users, and grow over time. With clarity, consistency, and customer-centricity, your marketplace has every chance to thrive.
FAQ's
1. Do I need coding skills to build a marketplace with Sharetribe?
No, you don’t need any coding experience to get started with Sharetribe Go. It’s designed specifically for non-technical users who want to launch a marketplace quickly. The platform offers a user-friendly admin panel (Sharetribe Console) where you can customize everything from branding and listing categories to user roles and payment settings—all through a simple point-and-click interface.
2. What’s the difference between Sharetribe Go and Sharetribe Flex?
Sharetribe Go is a fully hosted, no-code solution ideal for launching fast without a developer. It’s great for MVPs and small marketplaces. Sharetribe Flex, on the other hand, is a headless, API-based platform that offers complete design and functional flexibility. Flex is best suited for advanced use cases where you want full control over the front end and deeper custom integrations, but it requires technical resources to implement.
3. How do payments and commissions work on Sharetribe?
Sharetribe Go integrates with Stripe to handle payments and payouts securely. As the marketplace owner, you can set a commission percentage to earn from each transaction. Stripe will automatically split the payment between your platform and the seller. You’ll need a Stripe account, and your users (sellers or service providers) must connect theirs as well. Just note that Stripe’s availability varies by country, so alternatives may be needed in certain regions.
4. Can I use my own domain name for the marketplace?
Yes, you can. When you first launch, Sharetribe gives you a subdomain like yourmarketplace.sharetribe.com. Once you’re ready to go live, you can connect your own custom domain (e.g., www.mymarketplace.com) for a more professional and brand-aligned web presence. This can be done directly from the Sharetribe Console using standard domain settings.
5. How flexible is Sharetribe in terms of marketplace types?
Sharetribe supports a wide range of marketplace models including product sales, service bookings, and rentals. You can choose and customize the transaction flow that best fits your use case—whether it’s “Buy Now,” “Request to Book,” or bookings by the hour or day. With additional custom fields and filters, you can tailor the platform to match almost any niche—from local pet services to global digital product sales.
6. Can I customize the design and layout of my marketplace?
With Sharetribe Go, you can customize core elements such as your logo, color palette, fonts, homepage messaging, and static pages. While you can’t fully control the layout or add advanced UI elements like in Flex, the built-in tools allow you to create a clean, branded experience suitable for most MVPs and early-stage businesses. If you outgrow Go, you can always migrate to Flex later for deeper customization.
7. Is it possible to scale or migrate the platform later?
Absolutely. Many marketplace founders start with Sharetribe Go to validate their concept quickly and affordably. Once you achieve traction and need more flexibility (e.g., custom workflows, third-party APIs, or international payment solutions), you can migrate to Sharetribe Flex or even build a fully custom solution using Sharetribe’s APIs. The platform is designed to support growth and adapts well as your business evolves.